Converting an acoustic kit to electronic is fairly easy and not that expensive
This article is aimed at drummers who want to do an acoustic to electronic (A2E) connversion. Most other people will find it a bit dull, nerdy, or both.
Why convert?
Acoustic drums are uniquely satisfying. You can’t get any better for playability and feel. But they are very loud, and they always sound the same.
Noise reduction
Electronic drums make almost no noise on their own. On stage, that means band members don’t have to compete with a noisy drum kit, so everything can be quieter.
Variety of sounds
In an ‘originals’ band, a drum kit that sounds the same between songs is just what you want. But for a covers band like The Deltonians, it’s useful to have a wider variety of sounds. Songs like I Drove All Night, or Don’t Leave Me This Way need an 80’s disco sound, which would really spoil a song like Sweet Child O’ Mine.
Keeping the feel
An A2E conversion leaves the snare, toms and kick drum looking and feeling just like an acoustic kit. The sticks bounce back at you in the same way.
Things to be converted
Toms
Each tom has its plastic heads changed for mesh heads. I used Jobeky 2-ply heads and Jobeky internal dual zone side triggers. I left the original resonant heads in place, but loosened them right off to avoid ‘ringing’.
Snare
You can convert a snare drum just like a tom, but I went for a Roland PD140-DS Digital Snare, which gives significantly improved playability. More on this later.
Kick drum
The kick drum head is a Jobeky 22″ 2-ply mesh head, and they do a special kick drum trigger. See below.
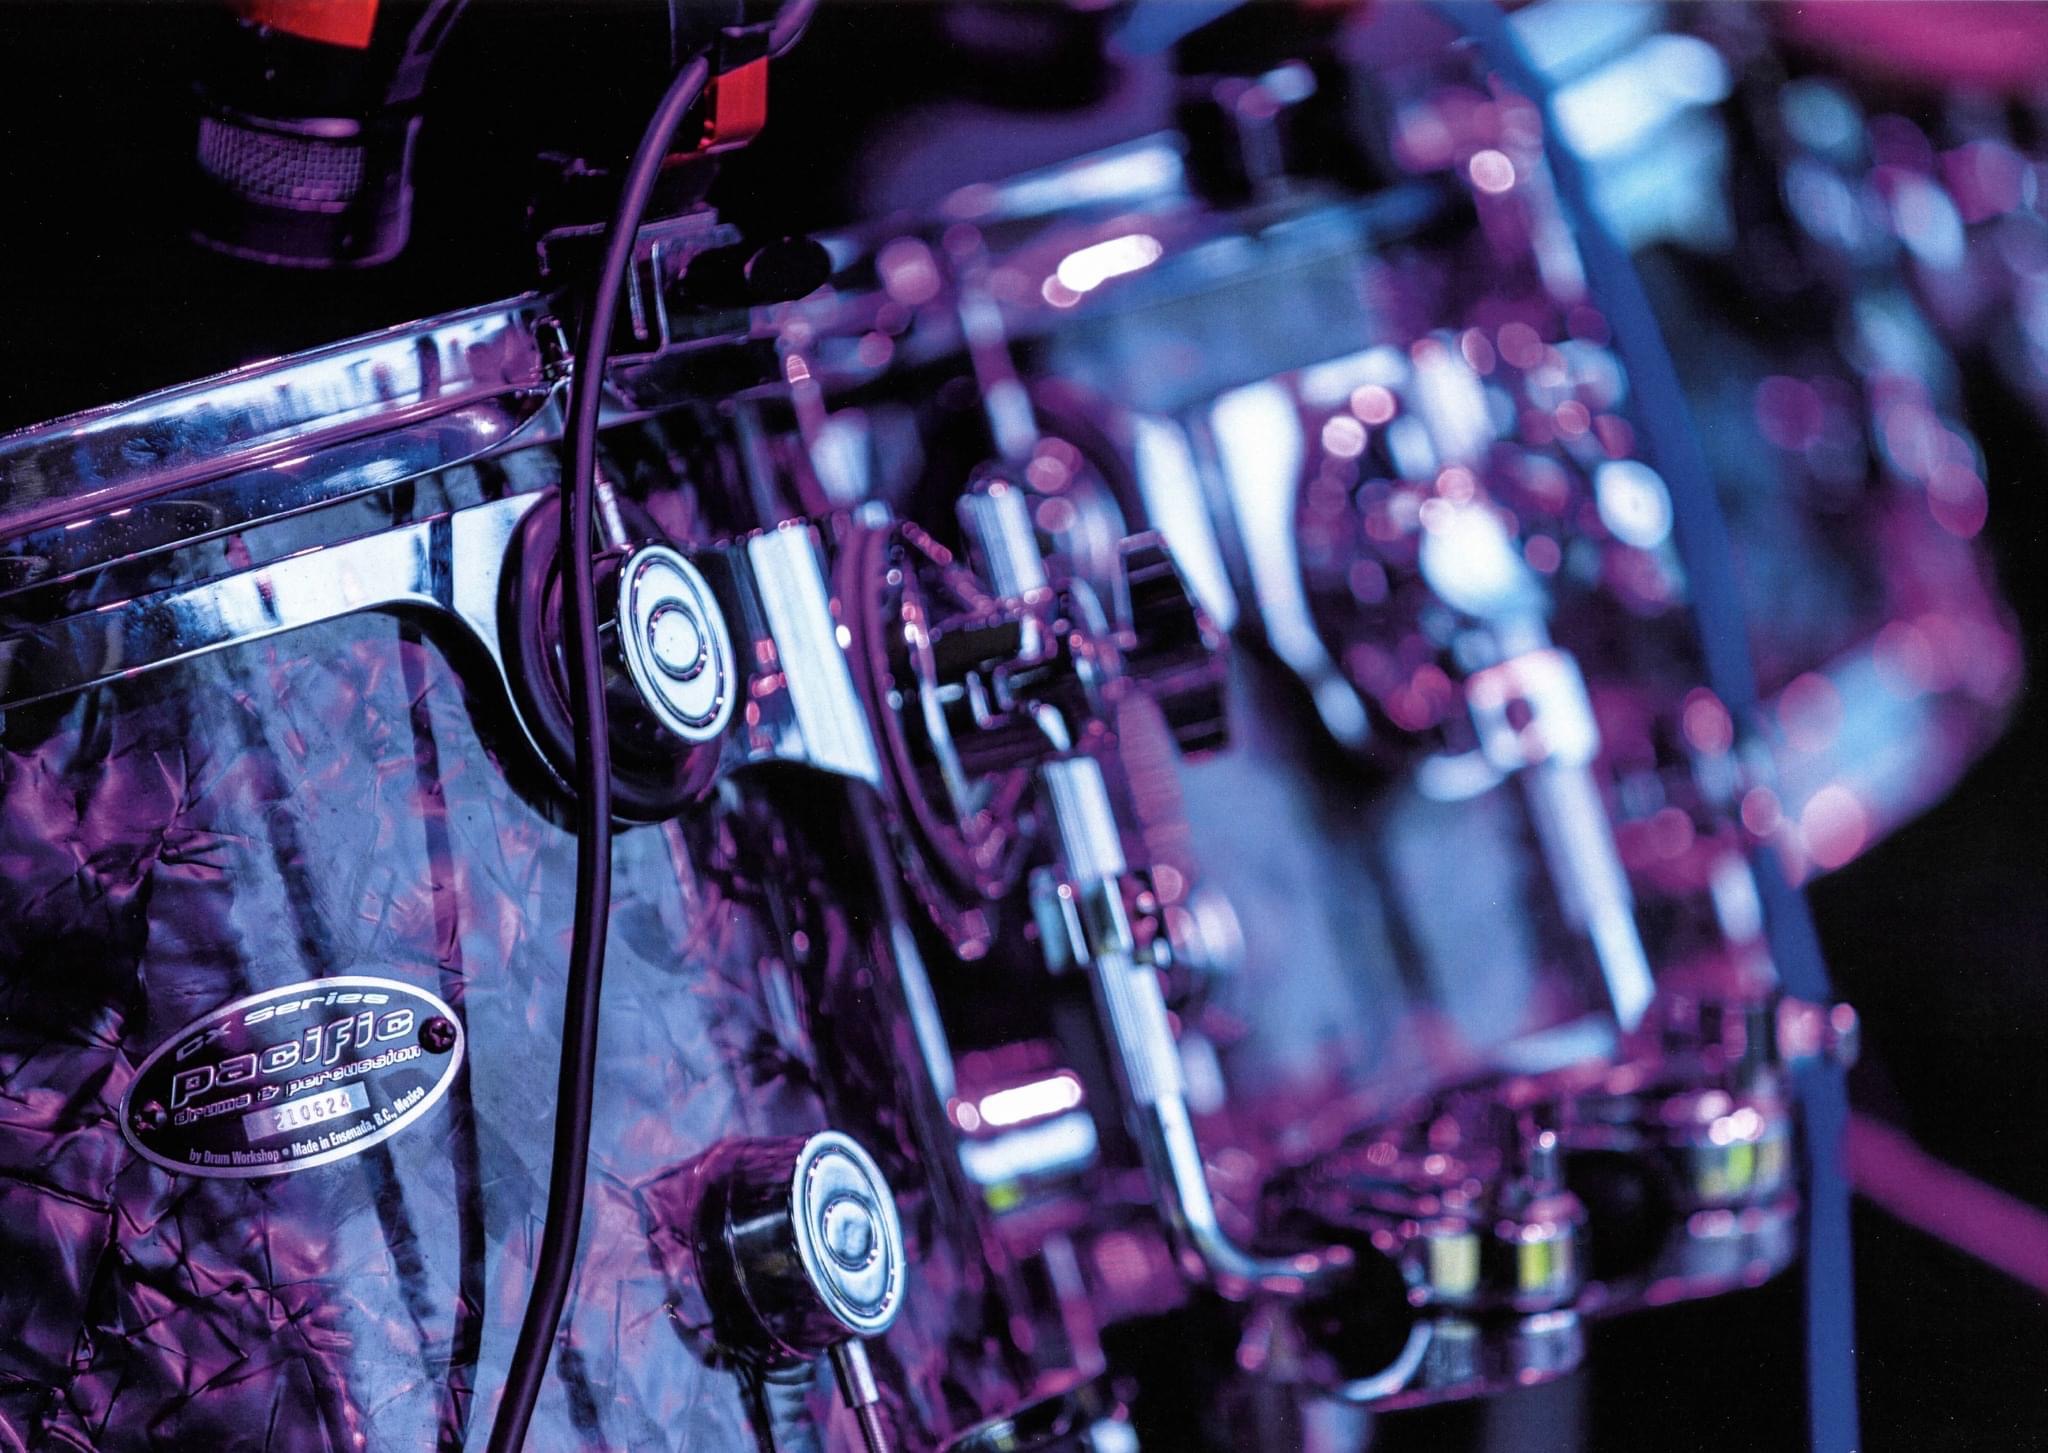
Cymbals
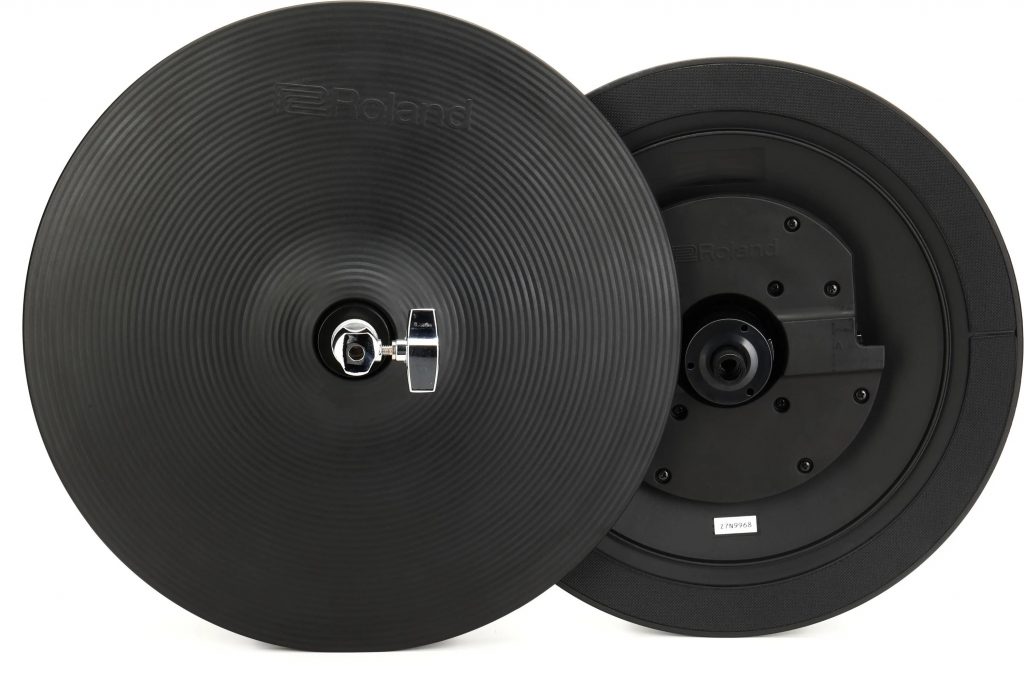
Cymbals are the trickiest part of the conversion. You can get metal ‘real feel’ or low volume cymbals, but I went for the rubber pads that came with the Roland TD27KV2 kit. They don’t feel like real cymbals, but you get used to them, and the advantages outweigh the drawbacks. The Roland digital hi-hats and digital ride are both astonishingly good for rubber cymbals. Astonishing.
Converting the toms
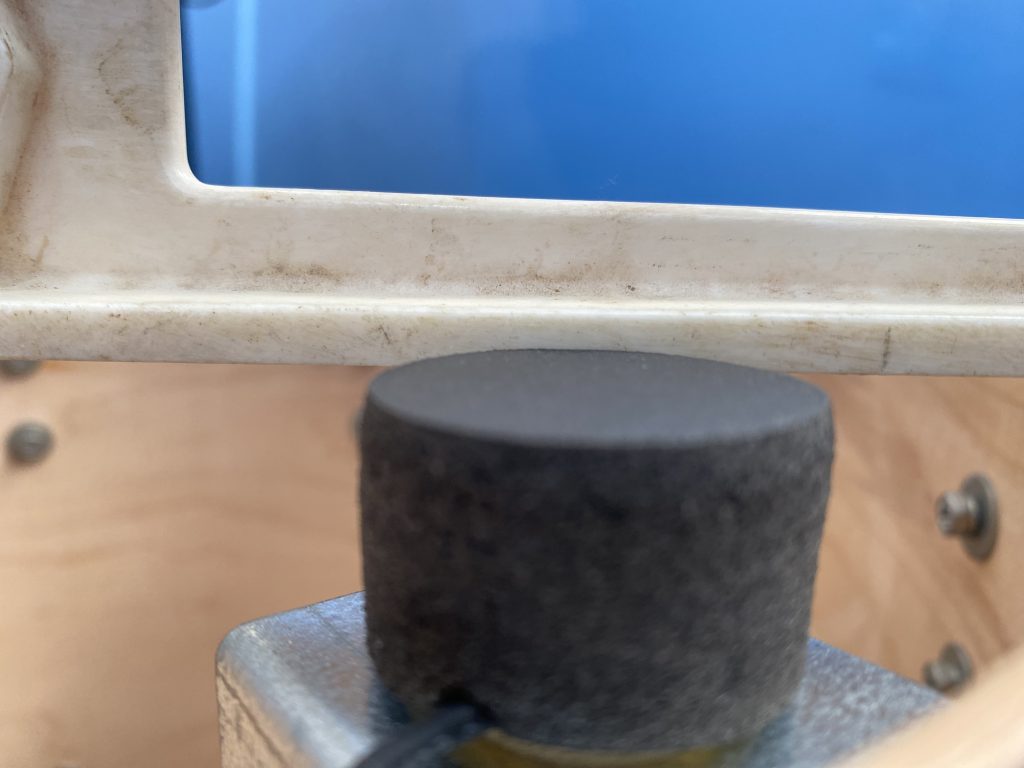
- Remove both heads
- Install trigger with foam projecting about 2mm above bezel edge (use a straight edge like a long spirit level to adjust it)
- Install a socket for the side connector. You might be able to reuse one of the original vent holes but I drilled new holes where I wanted them.
- Put a mesh head on the top and your original resonant head on the bottom. Tighten the top one as normal but leave the reso head nice and loose.


Kick drum
- Take both heads off
- Install trigger as with the toms – 2mm proud of the bezel edge. Use the very flexible mounting mechanism to place the foam right where your beater hits.
- Install side socket either in vent or a freshly drilled hole.
- Install mesh head, and your original front head.
Roland DP140DS Digital Snare
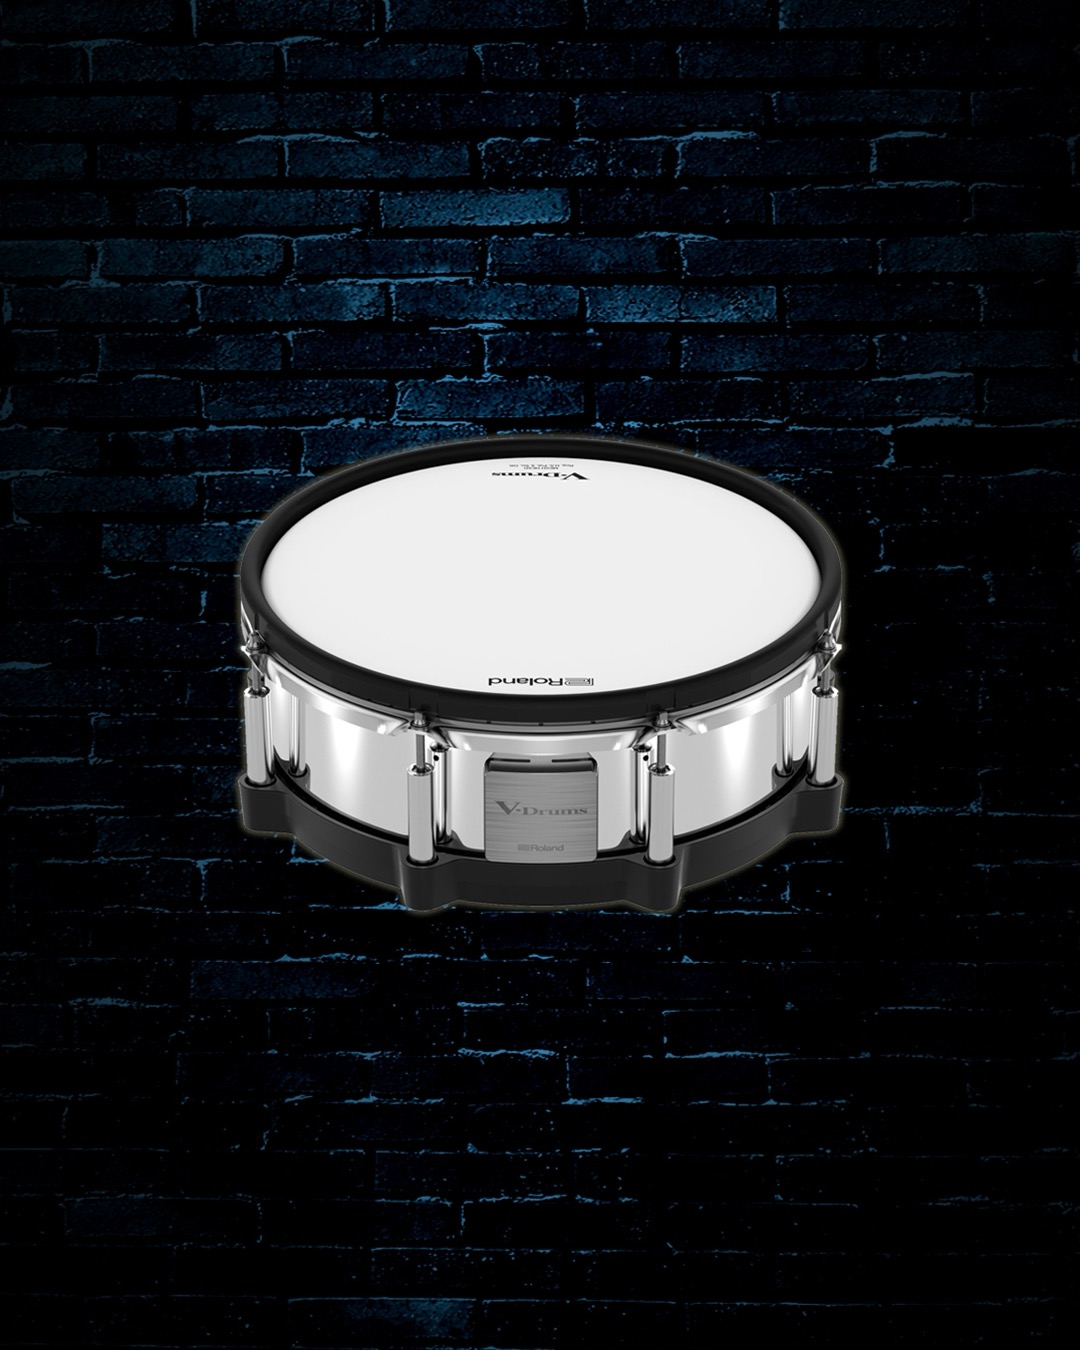
This connects to the drum module by USB cable. It’s so much more responsive than a traditional 1/4″ jack as used on the toms and snare. It gives it an amazing degree of playing subtlety, going way beyond just detecting head vs rim shots. It detects exactly where you hit the head (positional sensing) and it even detects your hand resting on the head to trigger a cross-stick sound instead of just a rim shot.
Expensive, mind.
Drum module
I used a Roland TD27 module and it has been really reliable and easy to set up. I will do another article on the details of the setup.
The trick with the module is to dial in the new triggers properly and equip yourself with some decent sounds. The stock Roland ones are uninspiring to put it mildly.
Shopping List
Here’s what I bought:
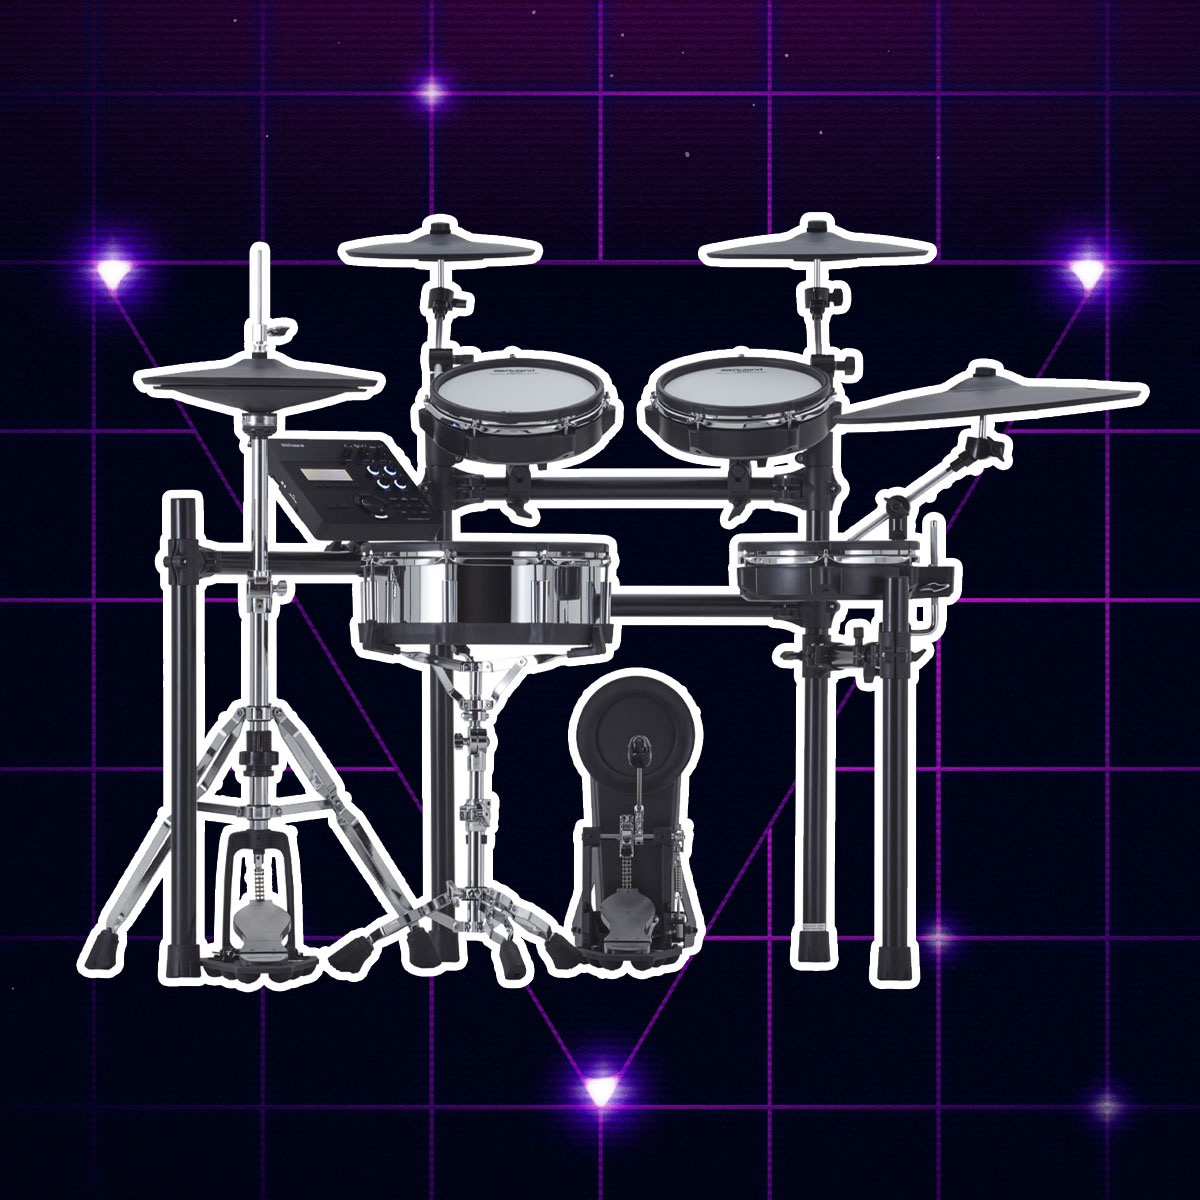
A full Roland TD27KV2 drum kit
An acoustic drum kit (!)
Set of Jobeky 2-ply mesh heads
3x internal dual-zone Jobeky tom triggers
1x internal Jobeky bass drum trigger
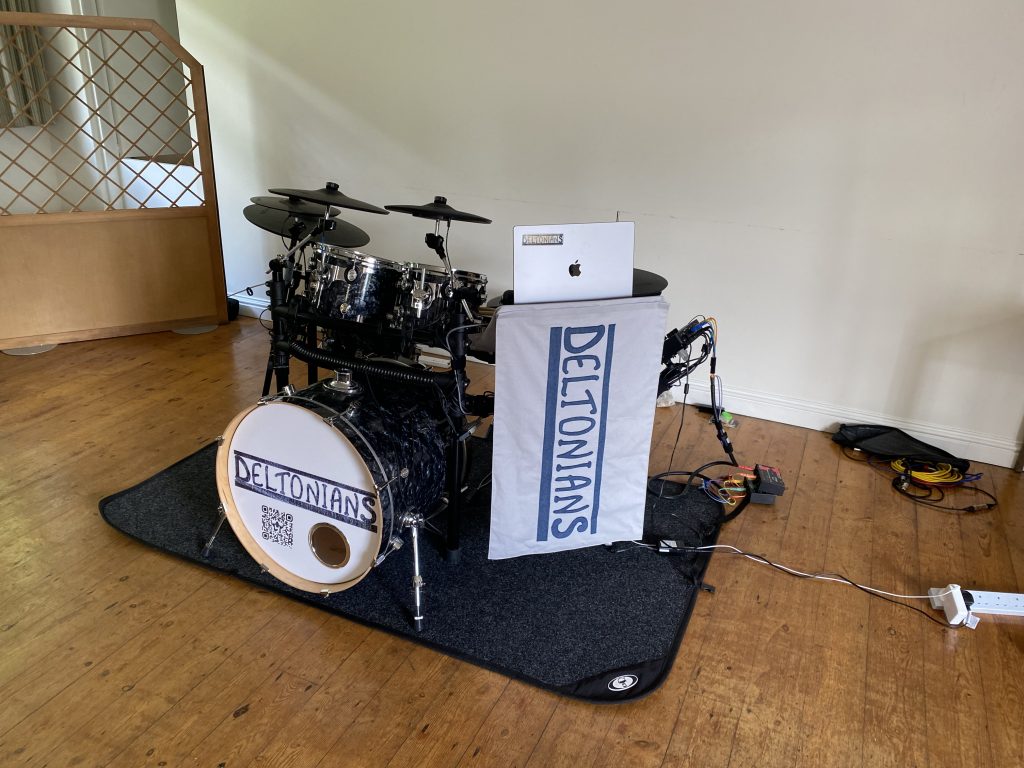
How I use the kit now
I now have essentially three kits:
Toms
Full sized acoustic kit
It’s easy to cover the kit back to acoustic. Just swap the heads back and move the triggers away from the heads.
Snare
Compact electronic kit
The TD27KV2 is a compact kit if you’re gigging in a tight space on a small stage. I still have that option.
Kick drum
Full sized and great looking electronic kit
Just use it as described here.
In practice, I mainly just use it in its converted state. It looks and sounds just how I want it.